Etching

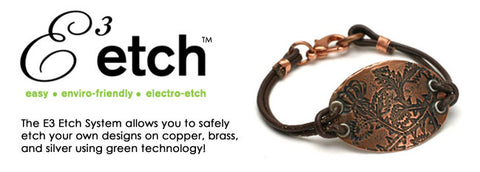
The E3 Duo™ is an electronic controller designed for easy etching, electroforming and plating. The E3 Duo™ Etch system uses electricity and an electrolyte solution to etch. Unlike chemical etching, which uses acid to etch metal, electro-etching is accomplished by running an electric current through the metal suspended in solution. The solution can be used over and over again. Etching occurs in a transfer process as atoms are moved through the solution from the piece to the bottom of a stainless steel pan. Etch copper, brass, bronze, and silver to make beautiful jewelry pieces!
 Browse Etching Products
View the Etching product collection here!
Instructions and Literature
-
E3 Duo™ Etching Instructions
- E3 International Kit Information
-
Is Electrical Etching Right for You?
- Etching on Silver
-
UV-30 Film Instructions
- Etch Paper - Direct toner transfer FAQs
- Warranty
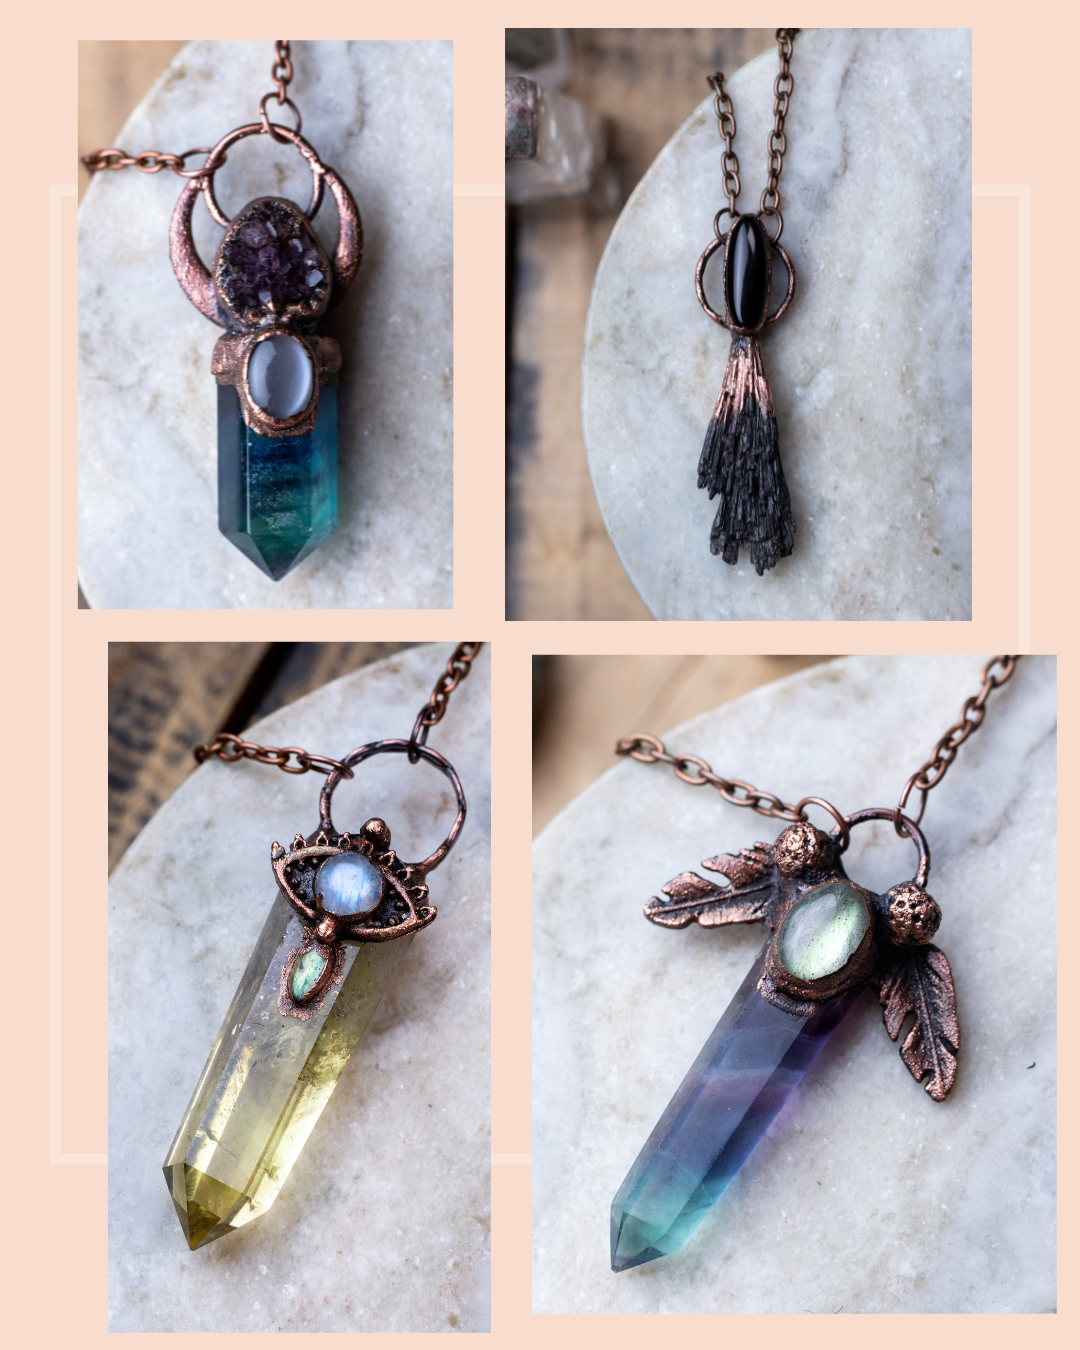
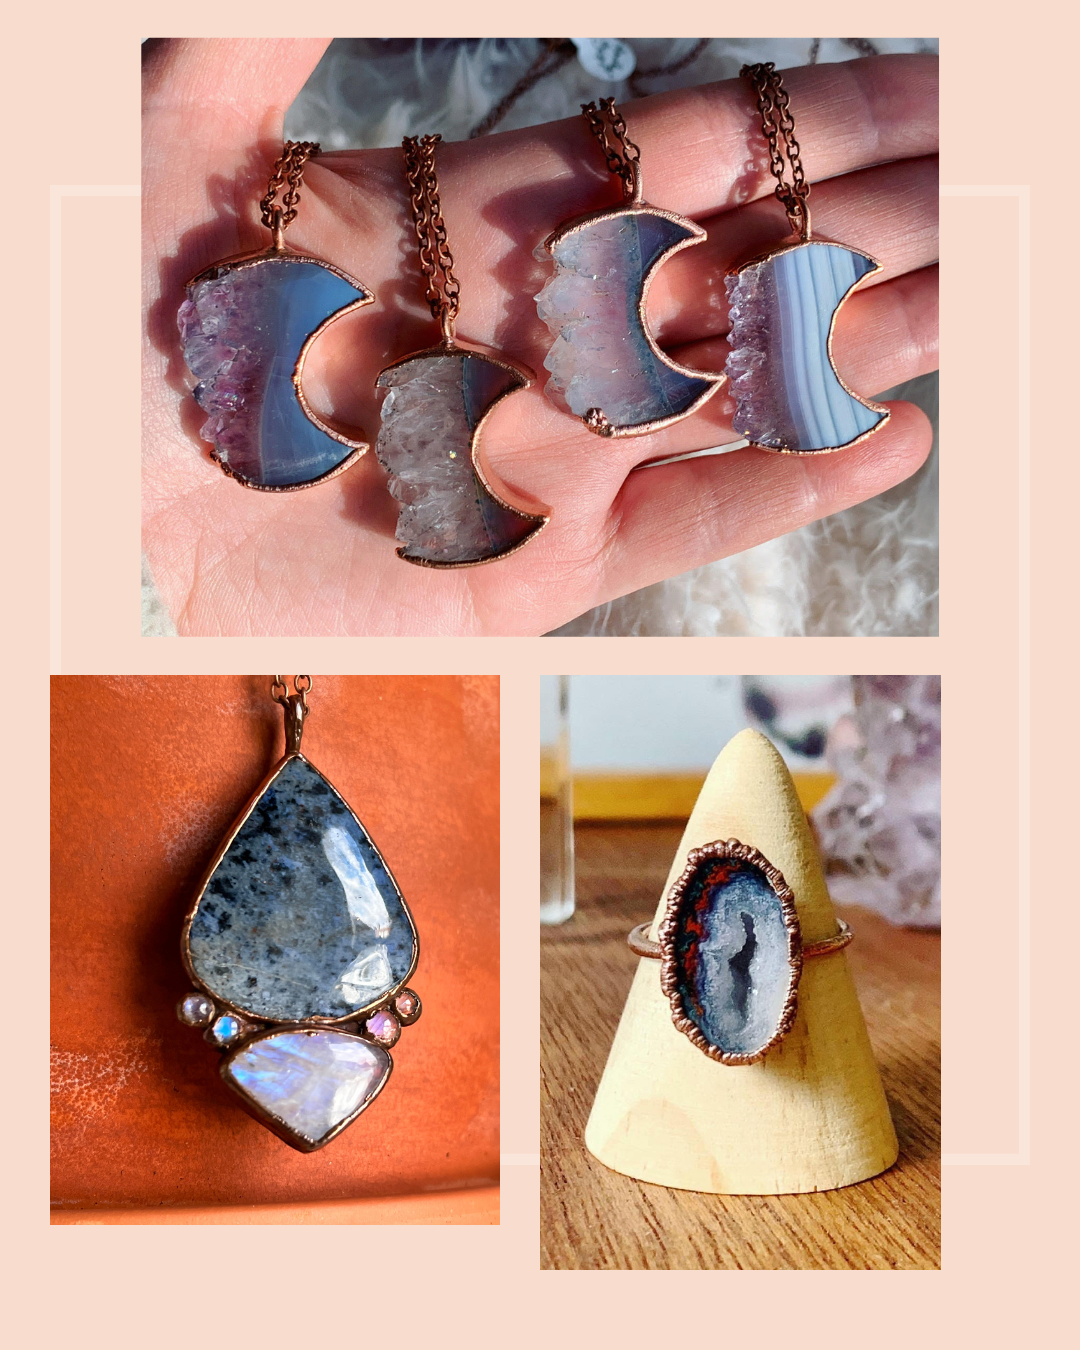
Etching Artist Gallery
View images of E3 etched pieces made by artists like you!
Frequently Asked Questions
For a full list of Frequently Asked Questions, read the E3 Duo™ Etching Instructions.
Will the E3 Duo™ etch metals other than copper and silver?
We suggest and support electrical etching with copper based metals (copper, bronze, brass) and silver (fine, sterling). Since other metals require different set-ups, highly hazardous chemicals, and complicated procedures we do not have instructions to support other metals. Many metals require chemical etching rather than electrical. Read the Etching on Silver PDF for more information.
Which resist should I use?
Read our instructions to learn the different types of resists you can use with electrical etching. The resist that will give you the most consistent results is UV-30 film. Watch our how-to video to learn more.
My piece stopped etching after awhile during the electrical etching process, what did I do wrong? OR: The current light turned off during the session or never lit up in the first place when I set my piece in the solution to begin etching.
You have lost your connection to complete the circuit necessary for etching, there are several reasons this can happen and all are fixable. IMPORTANT: Before you try to diagnose the problem, plug the controller in and make sure the power light is on. Now touch the metal clip from the red lead to the metal clip of the black lead together. When they touch you should see the current light go on. If this is the case the controller is working properly. This means that you have a problem with the connection to your piece or contamination of the solution. Because electrical etching is actually a plating process, everything must be clean, well connected, and pure metals and corresponding solutions must be used. If your current light goes on when the clips are touched together, it’s time to figure out what is interfering with your connection.
Check the following:
- Is your electrode wire firmly attached to the back of the piece? It may have come loose during etching. This can happen when solution gets under the tape or the tape is not very strong. Remedy this by sanding and cleaning the back of the piece. A rough surface holds tape better. Use a heavy clear packing tape to securely affix the exposed wire to the metal on the back of the piece. Sometimes the wire appears to be taped well, but the wire is bent in such a way that part of it is not sitting flat on the piece. Re-bend the wire to make sure the wire is in contact and not flexing off at any point. It also may be that your aluminum electrode has become coated with residue of crystals from the solution. Use a fresh piece of wire or sand and clean the end of your wire.
- The piece may be touching the metal pan. Make sure it is not touching the sides or bottom. Make sure that the clips from the red and black lead are not touching each other or the sides of the pan.
- Minerals in water can interfere with etching, always use distilled water.
- Bits of loose copper or toner from previous batches, along with solution that has become over-concentrated due to evaporation can cause problems. Clean the pan and re-fresh with new solution.
- Be sure that your metal is pure and not plated (copper, brass or bronze for copper sulfate) or (silver for silver nitrate). Zinc or other metals can interfere with etching.
- Some metal sheet and blanks are tumbled, rolled or polished. This can cause two problems: 1) The metal may be so smooth that the wire, resist and tape have trouble “sticking” and 2) Tumbling media may leave a residual coating which interferes with etching. Sand your piece aggressively to remove any impurities and then clean both sides with rubbing alcohol prior to taping or applying the resist. Some metals have an oily residue left from the manufacturer and must be cleaned as well.
- Do you have tape on the back of your piece that you didn’t notice? Clear tape is hard to see and you may need to examine your piece to make sure tape is not interfering with the placement of the electrode wire. You must have metal-to-metal contact for the circuit to work.
- If your piece is small or even large but has very little copper exposed to etch, this can pose a problem. If there isn’t enough copper to conduct power the controller will have trouble working. You’ve got to give it something to work with. So, for example, if you want to etch a line of text on a piece of jewelry, leave a border of exposed copper around design to give the controller more copper to “read”. Simply cut off the excess copper later after etching your design. See section above “Technique for etching on a small piece or bead” for more information.
Free Projects
Coming soon!
Videos
E3 Duo Electroforming and Etching Basics
Sherri Haab E3 Etching System Demo on JTV


 Browse Etching Products